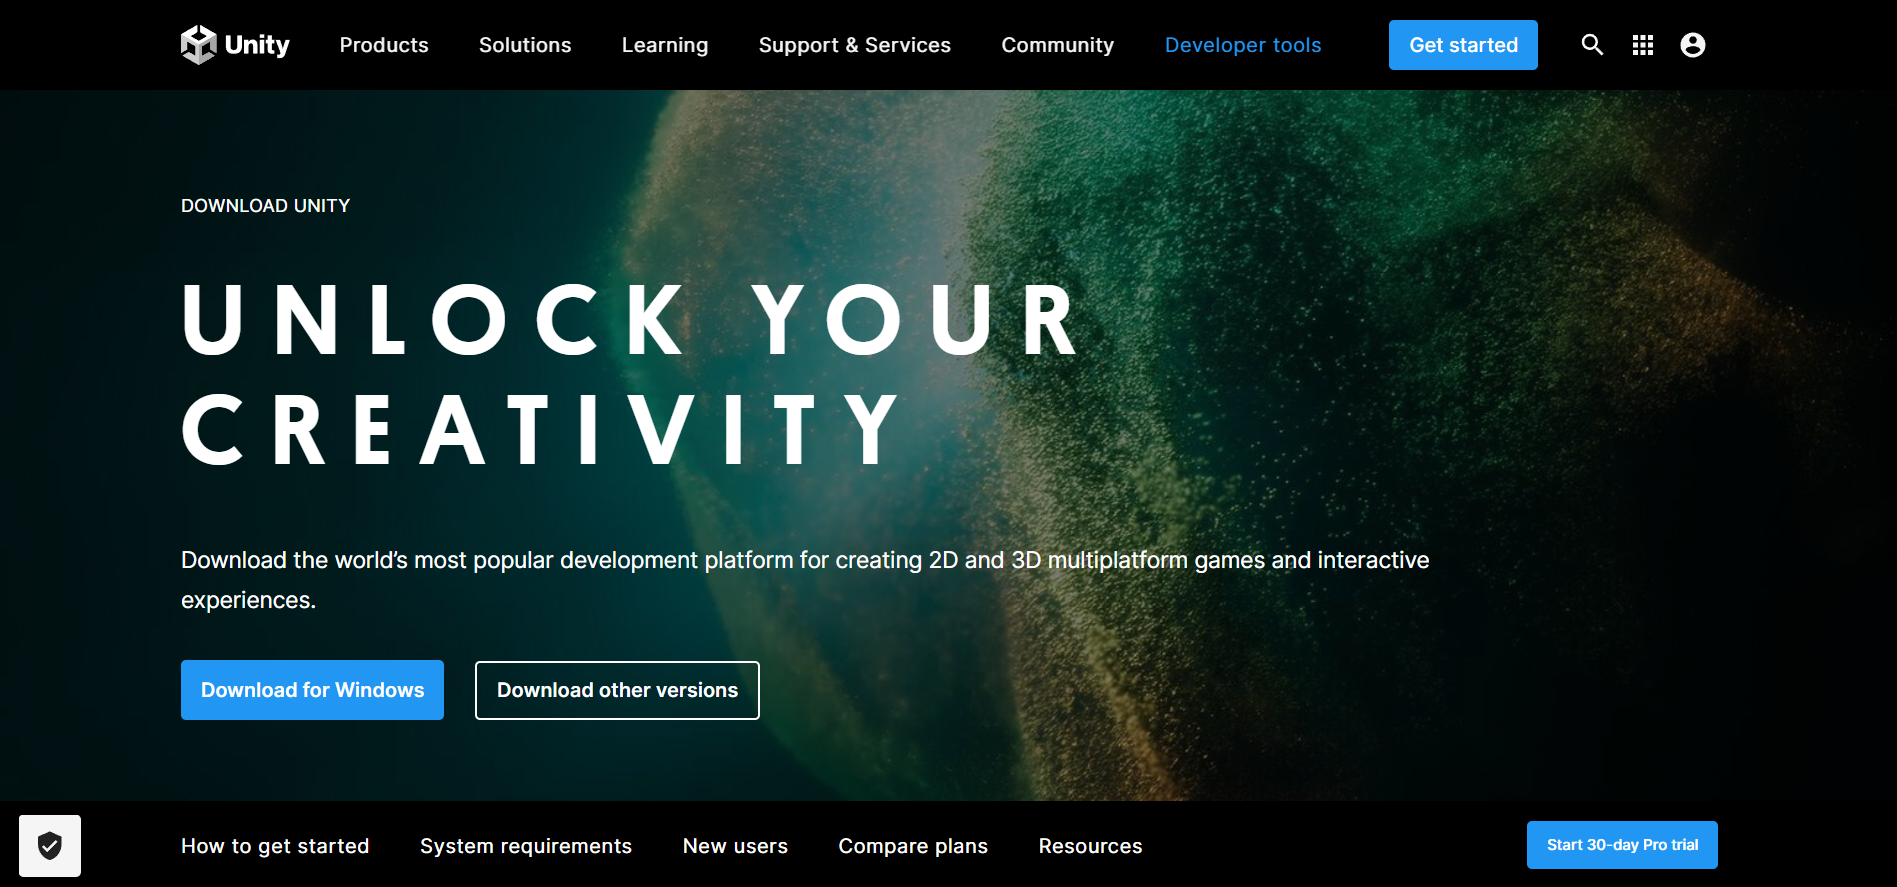
Step 1: Download Unity Hub.
Go to the Unity Hub website and download the Unity Hub.
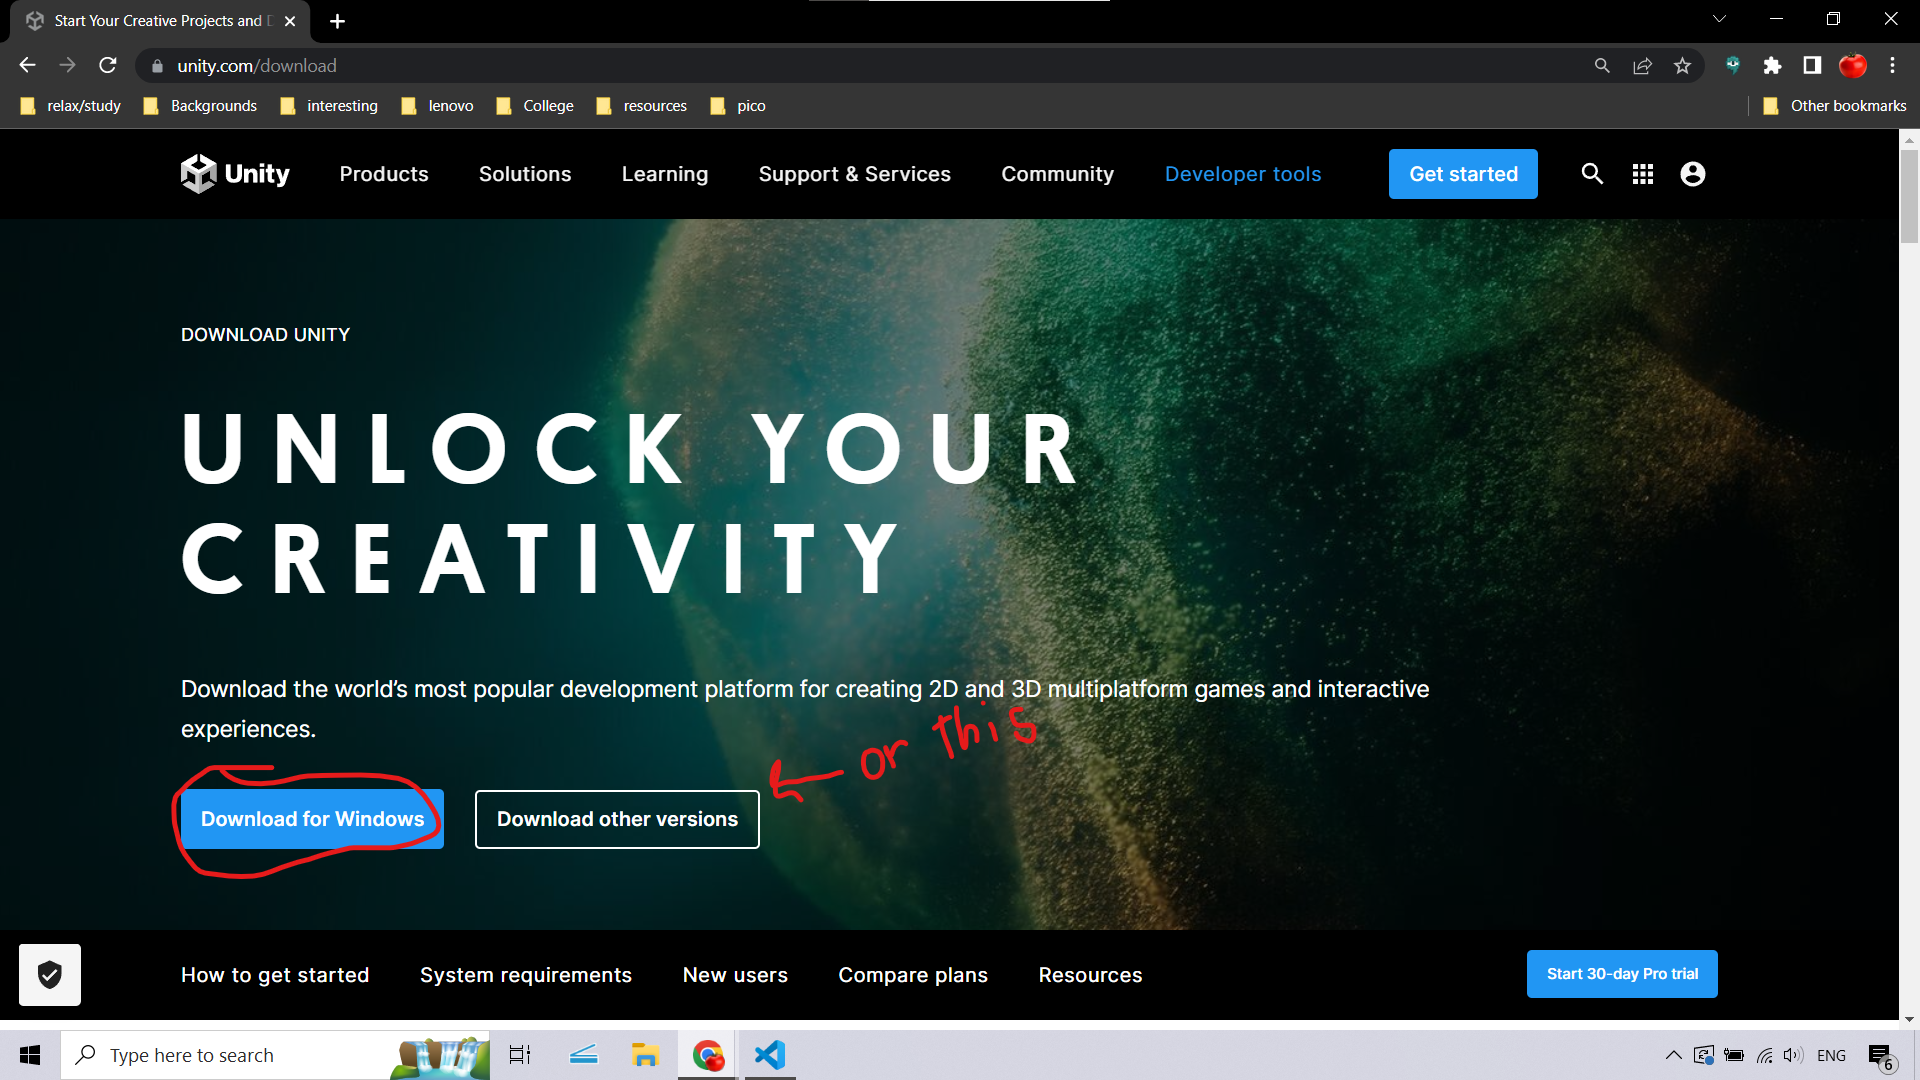
Alternatively, we’ve linked the download for windows, mac, and linux below.
Unity hub is an application that manages several softwares that are used to make games. It is used to download and install the unity editor, which is the main software used to make games. It also provides functionality to manage your projects.
After the file has finished downloading, open it. It may ask for permission to modify files on your computer. Say yes. After this, you should be greeted with a screen that looks like this:
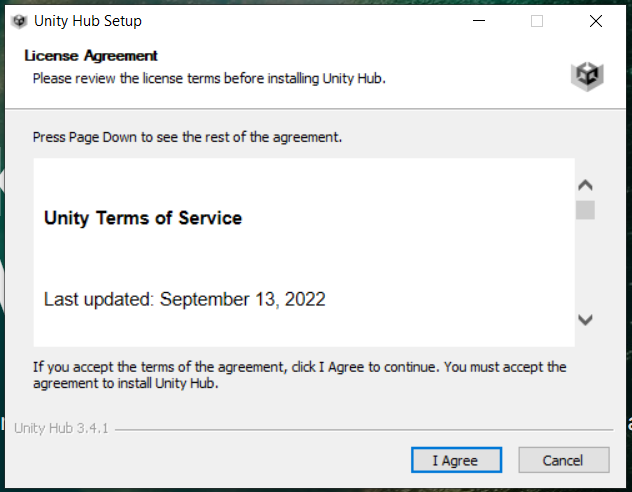
Agree to the agreement, then press install. Depending on your computer, this may take a moment.
After it has finished installing, you will see this screen:
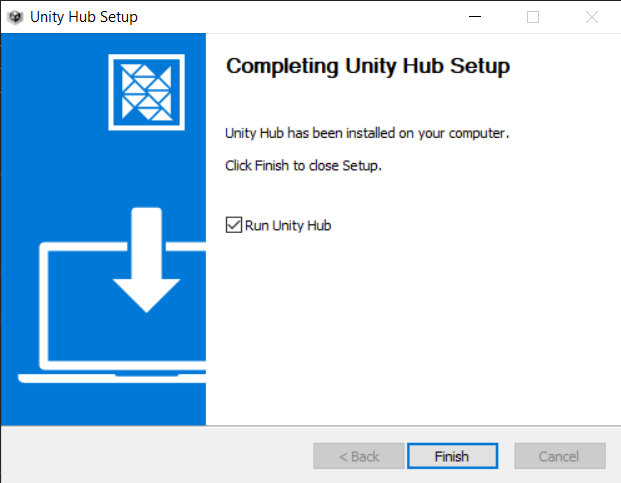
Press finish, and you may see a screen that looks like this:
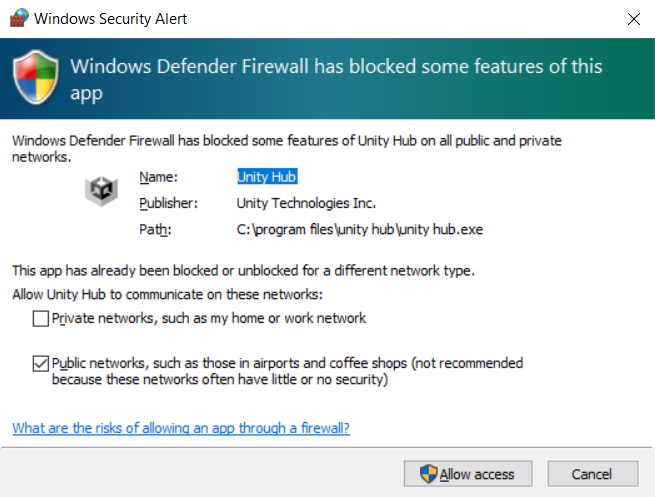
If you do see this screen, just press allow access to move on. If you left the launch unity hub box checked, Unity Hub will launch. If you didn’t leave that box checked, open Unity Hub like you would any other program.
After opening Unity Hub, you will be prompted to install the unity editor. You may be present with a screen with several checkboxes on it. On that screen, ensure that microsoft visual studio is checked. Press install and wait for the install to finish.
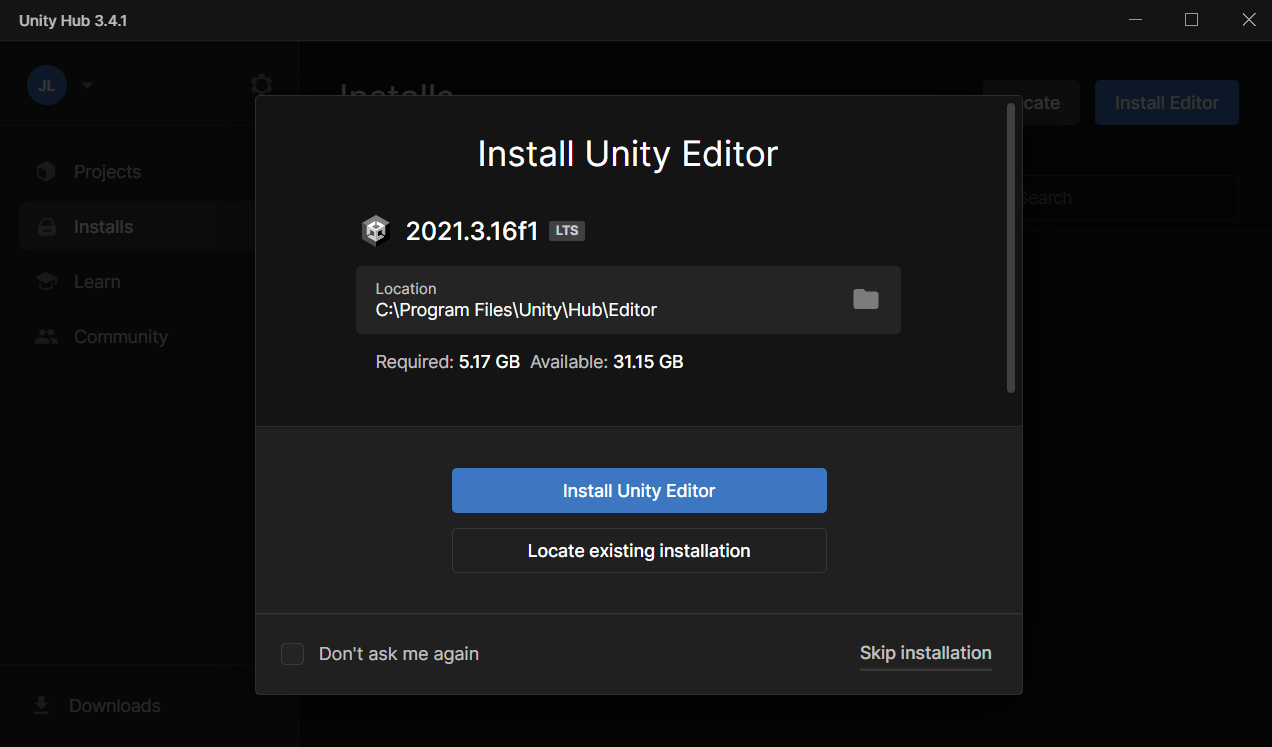
If you left visual studio checked, you will be prompted to install the visual studio installer after the Unity editor is finished installing. Press continue and wait for the install to finish. If you unchecked visual studio, follow these instructions to install visual studio seperately.
After the Visual Studio installer is finished installing, select these three options:
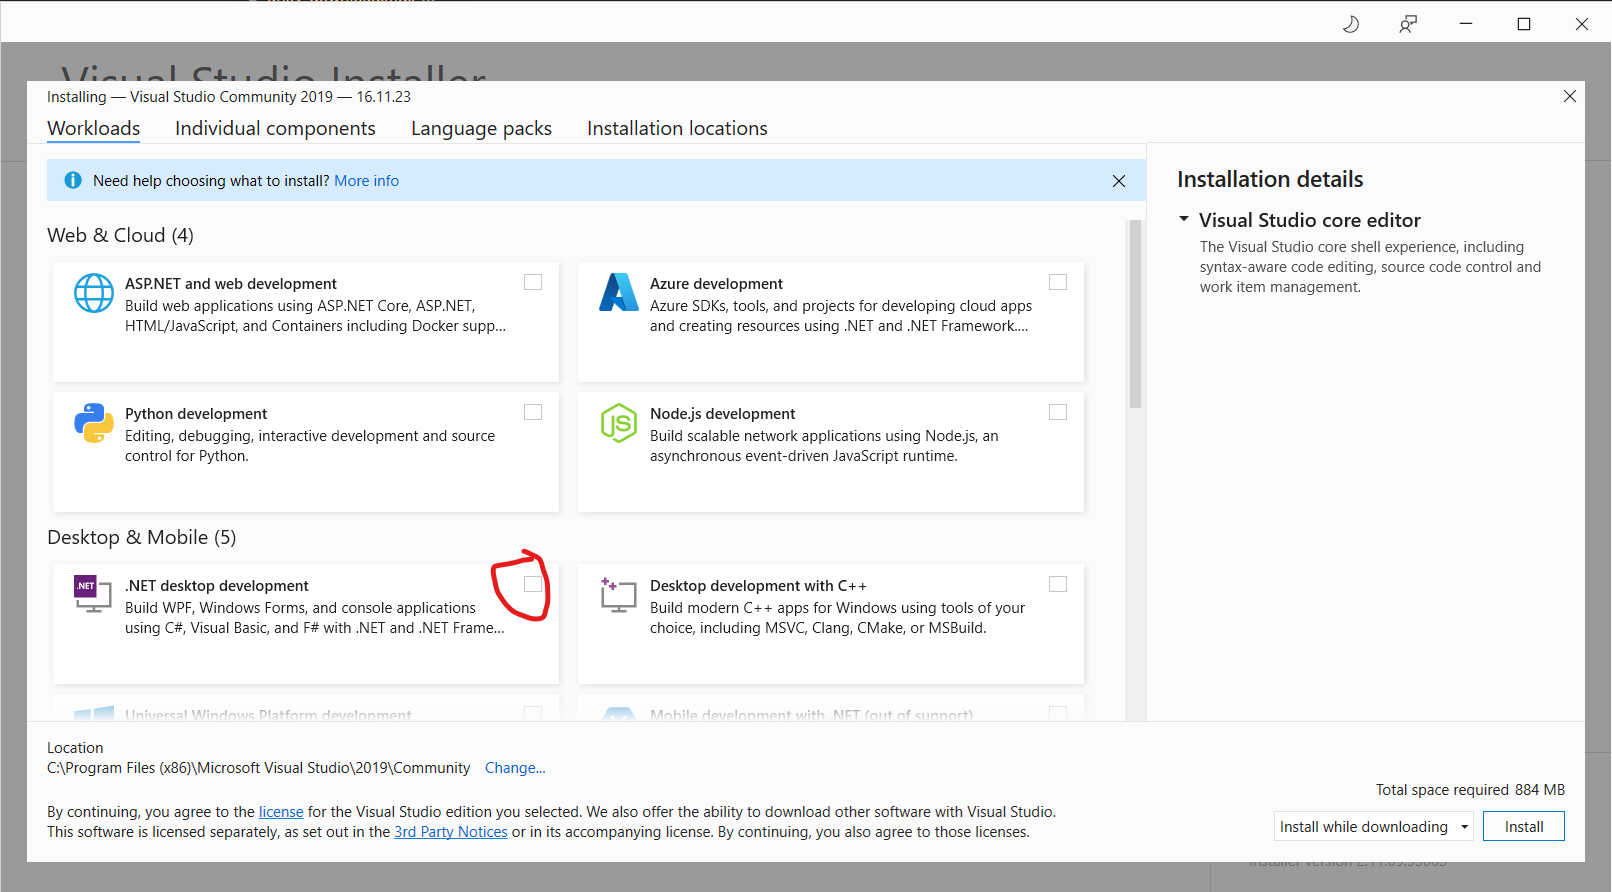
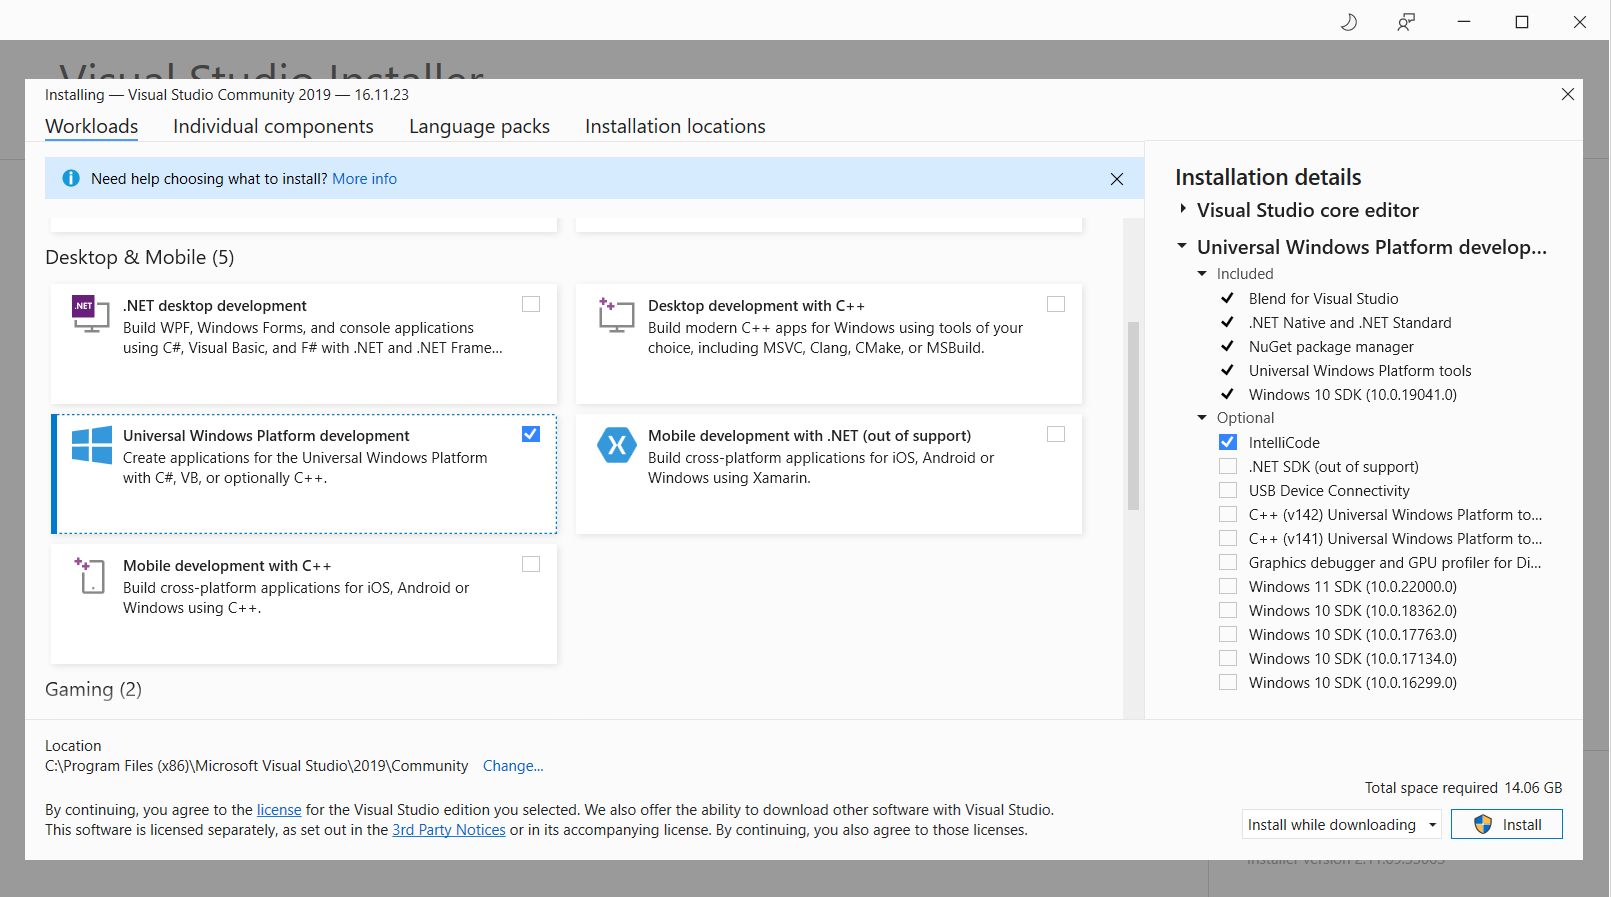
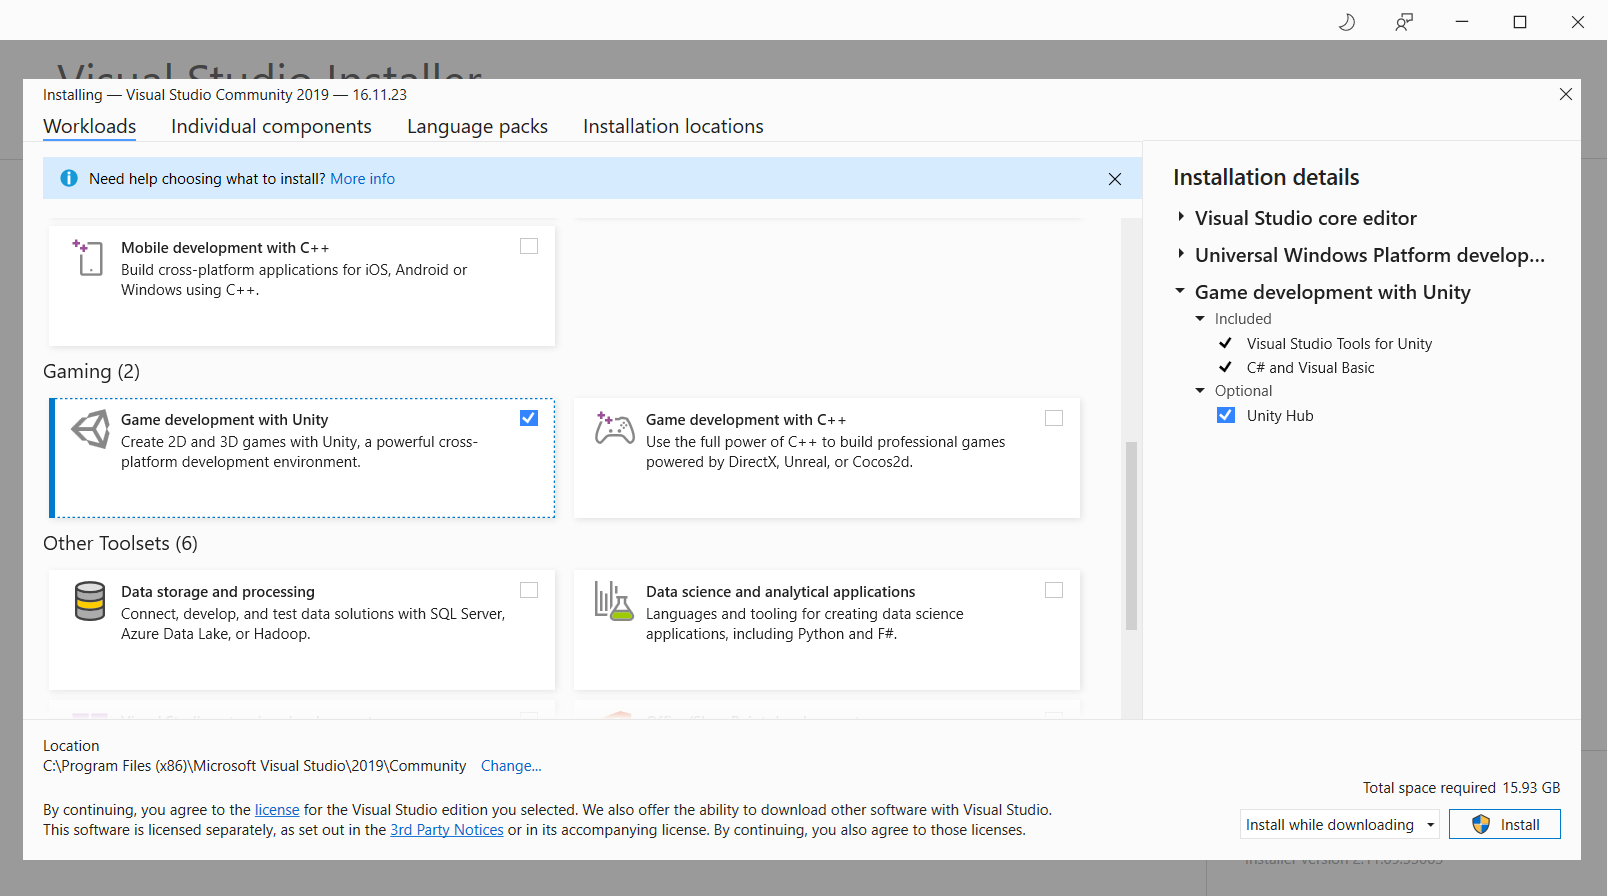
Press install and wait for the install to finish. This will take a while.
After the install is finished, you may be asked to sign into visual studio. You do not need to do this. Click not now, maybe later to skip sign in.
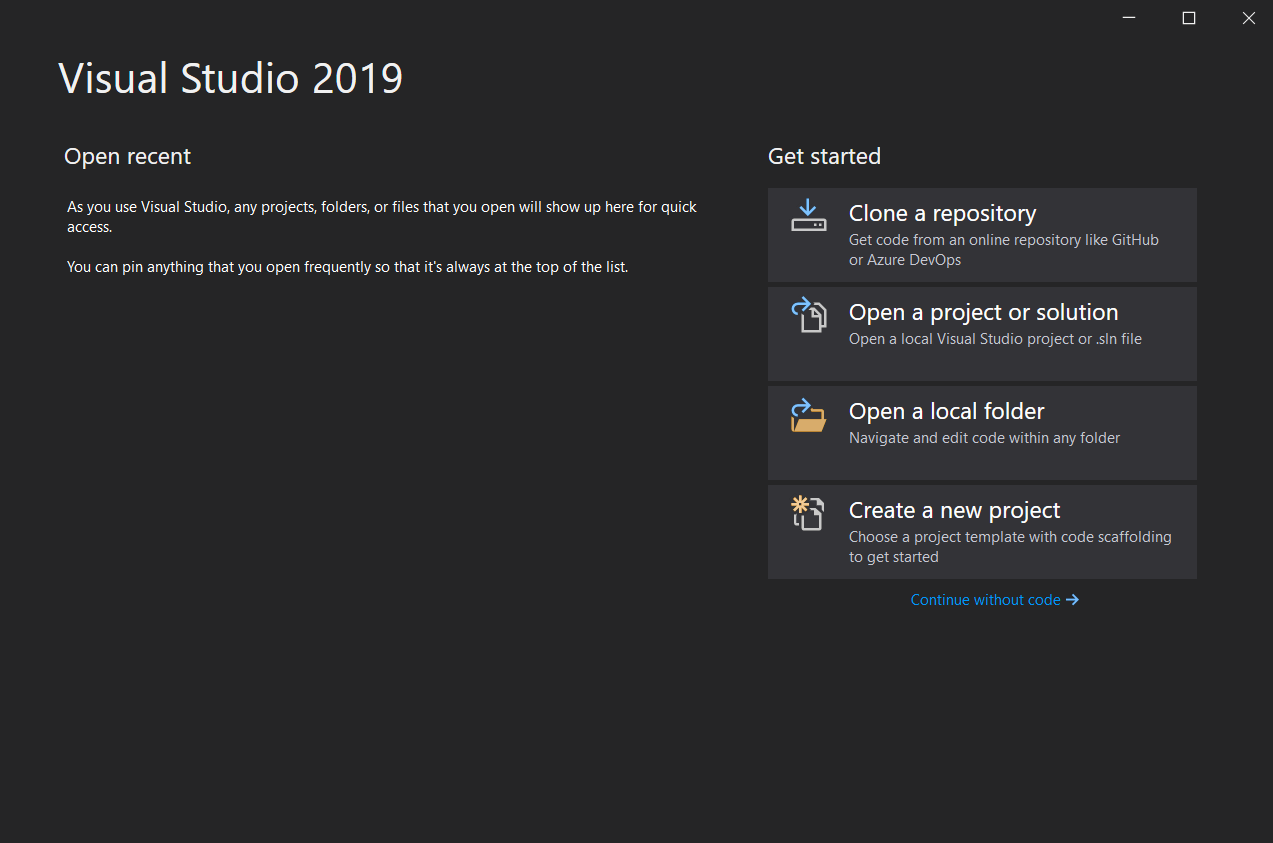
You can then choose a color theme and press start visual studio. If you see a screen that looks like this, then Visual Studio has been installed successfully! You can close both Visual Studio Installer and Visual Studio.
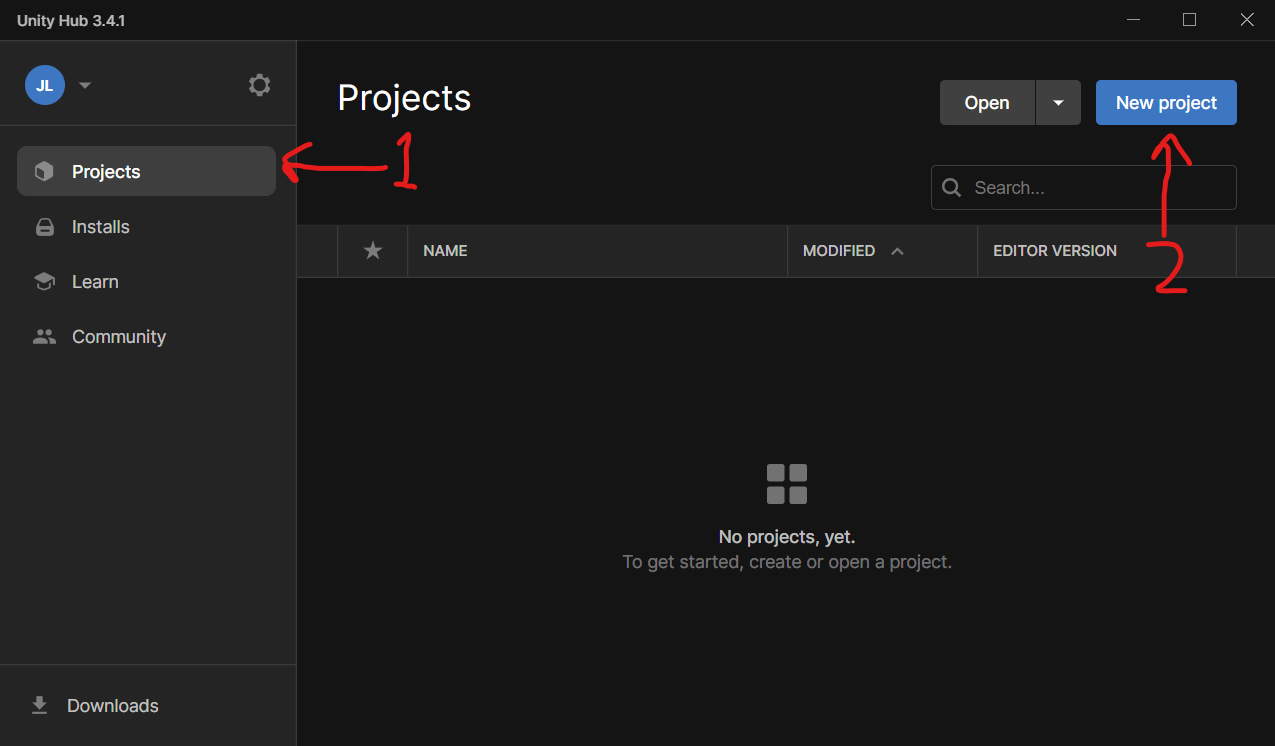
Now back to Unity. We are going to make sure that everything is functioning correctly. If something is not, contact us. Inside the Unity Hub, navigate to the projects tab and press new project.
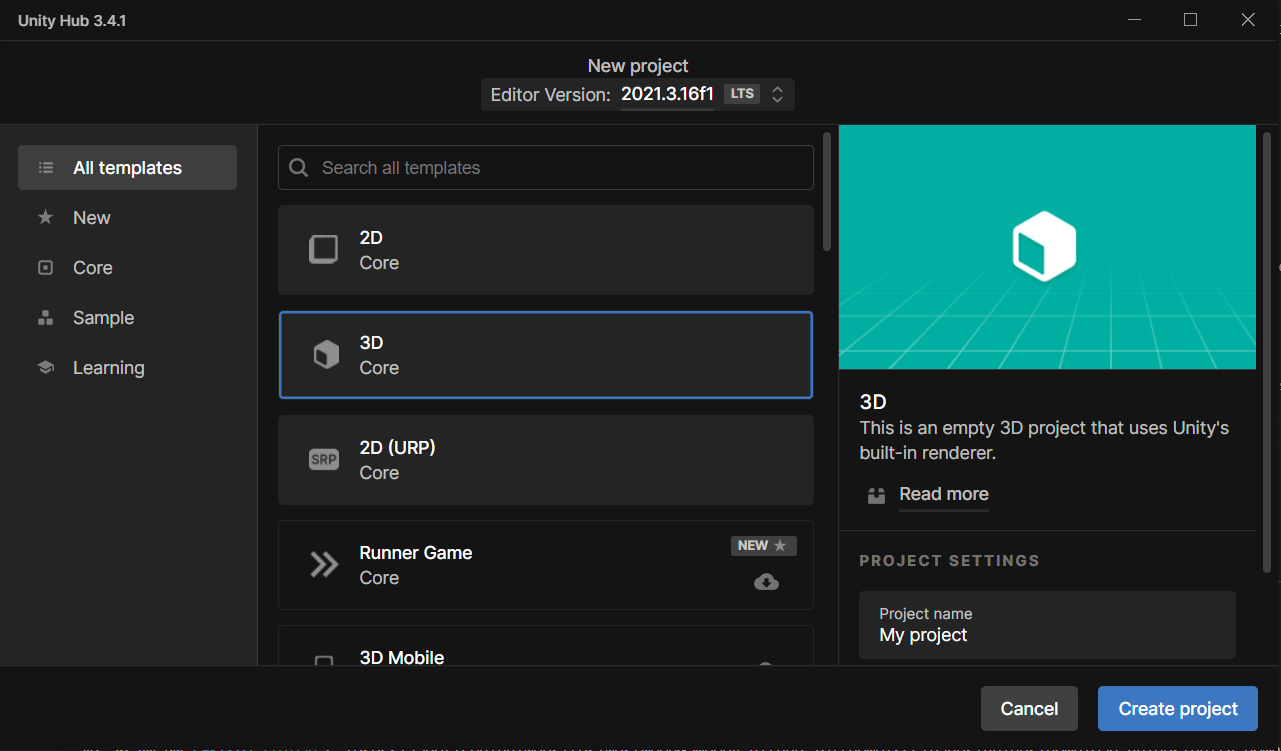
You will see a wide variety of project types, but for now we will create a simple 3d core project. We will explore the other types in a future meeting. Press 3d core, name your project whatever you like, and press next.
The project will be created now, which will take a while. It takes longer on the first project creation than all other project creations in the future.
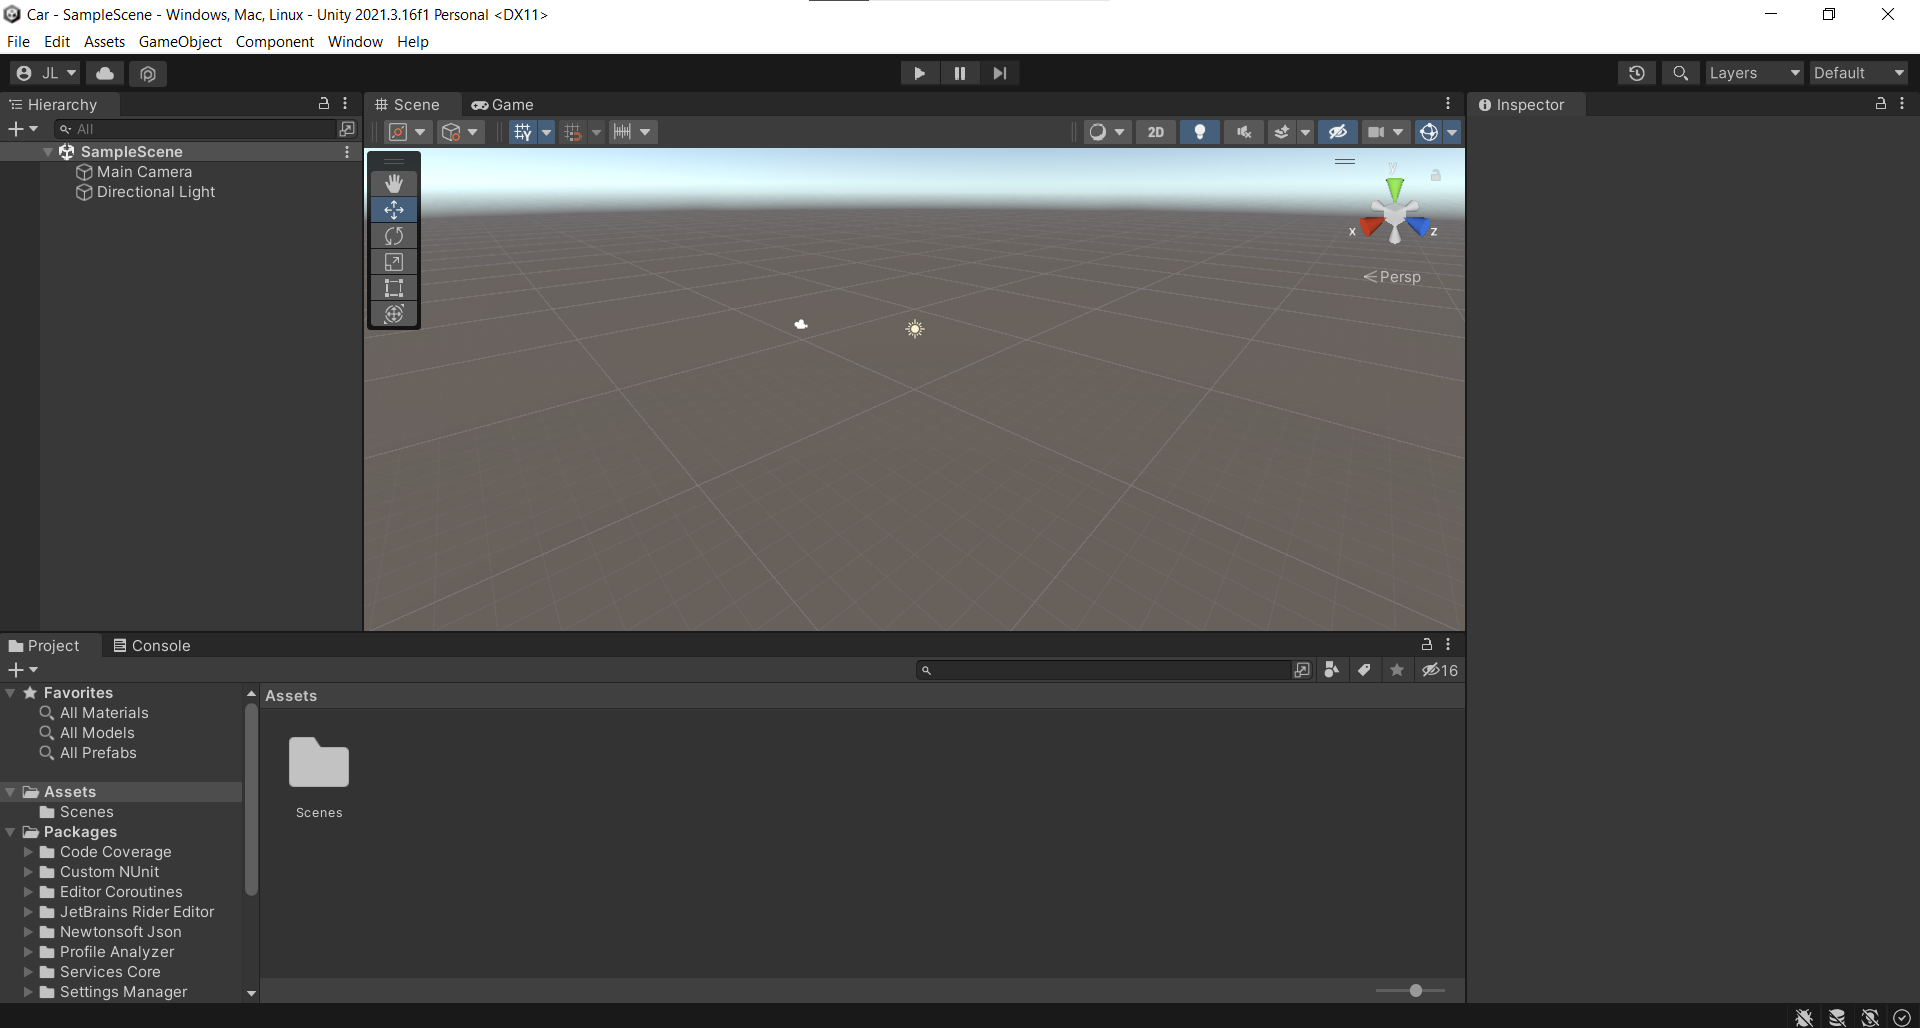
If the Unity Editor opens up with this screen, then you’ve successfully installed Unity! You can close the project now.
Wondering what to do next? Check out our slides from our first meeting!
